How to change the lock levers on your Wattbike Pro/TrainerUpdated 6 months ago
There are two lock levers on the Wattbike Pro/Trainer which are used for height adjustments for the saddle and handlebar stems. Please see below for instructions on how to replace the lock levers on your Wattbike Pro/Trainer.
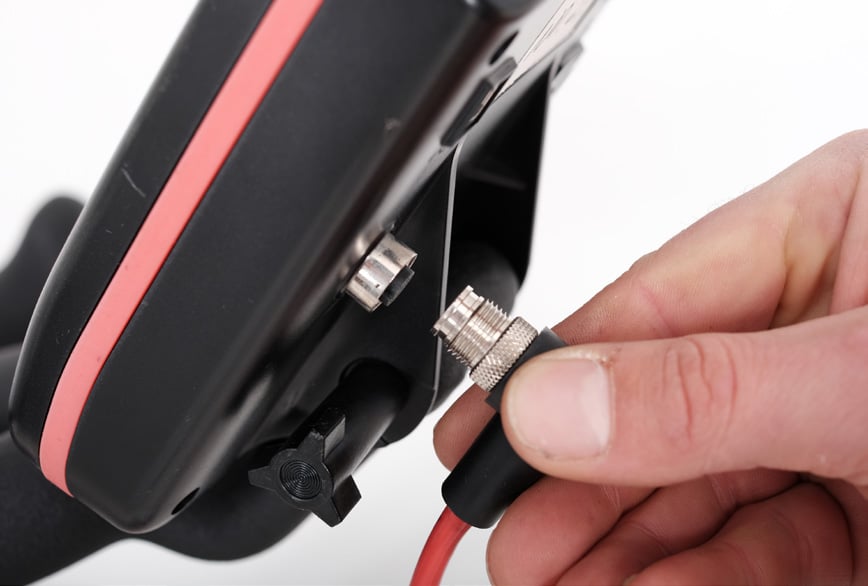
1. When removing the handlebar stem, remove the data cable from the socket in the back of the monitor.
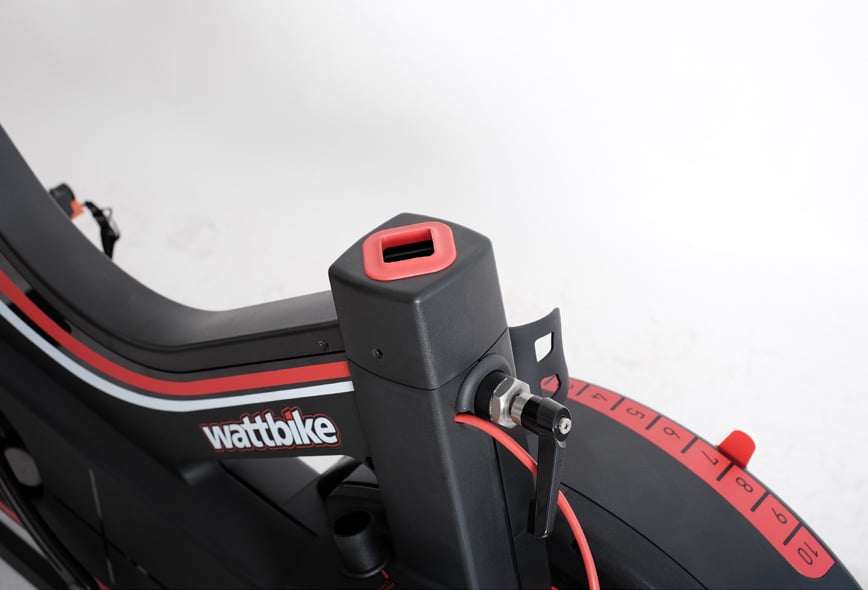
2. Loosen the lock levers and remove the handlebar and/or saddle stems. Tighten the lock lever again.
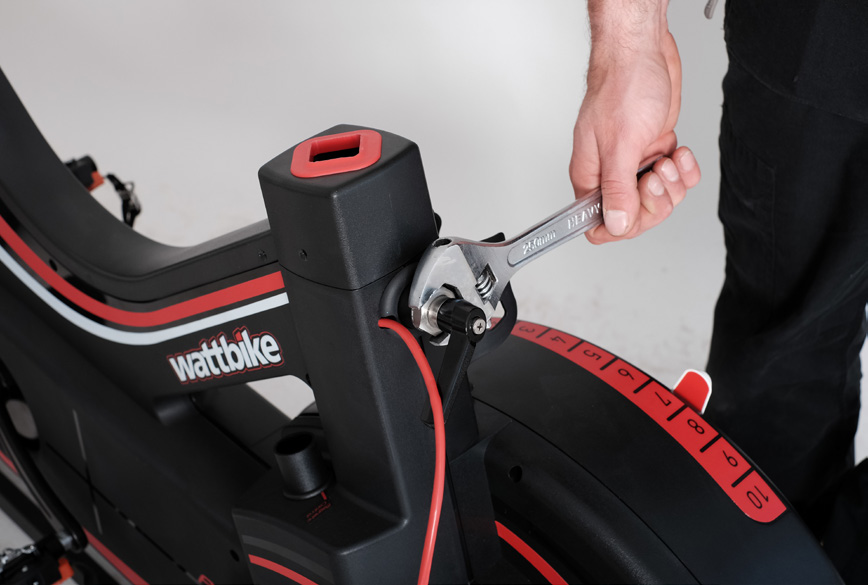
3. Use a large adjustable spanner to remove the lock lever mechanism.
4. To replace, reverse the process.
Note: when replacing the lock lever, make sure you line up the groove in the pacman over the guide grub screw in the frame of the bike. Be very careful to not cross-thread the lock lever in the frame of the bike.