How to install Wattbike Hub Beta FirmwareUpdated 4 months ago
Here is our simple step-by-step guide to installing the beta firmware onto your Wattbike.
- Install the latest Wattbike Hub version from the App Store / Play Store
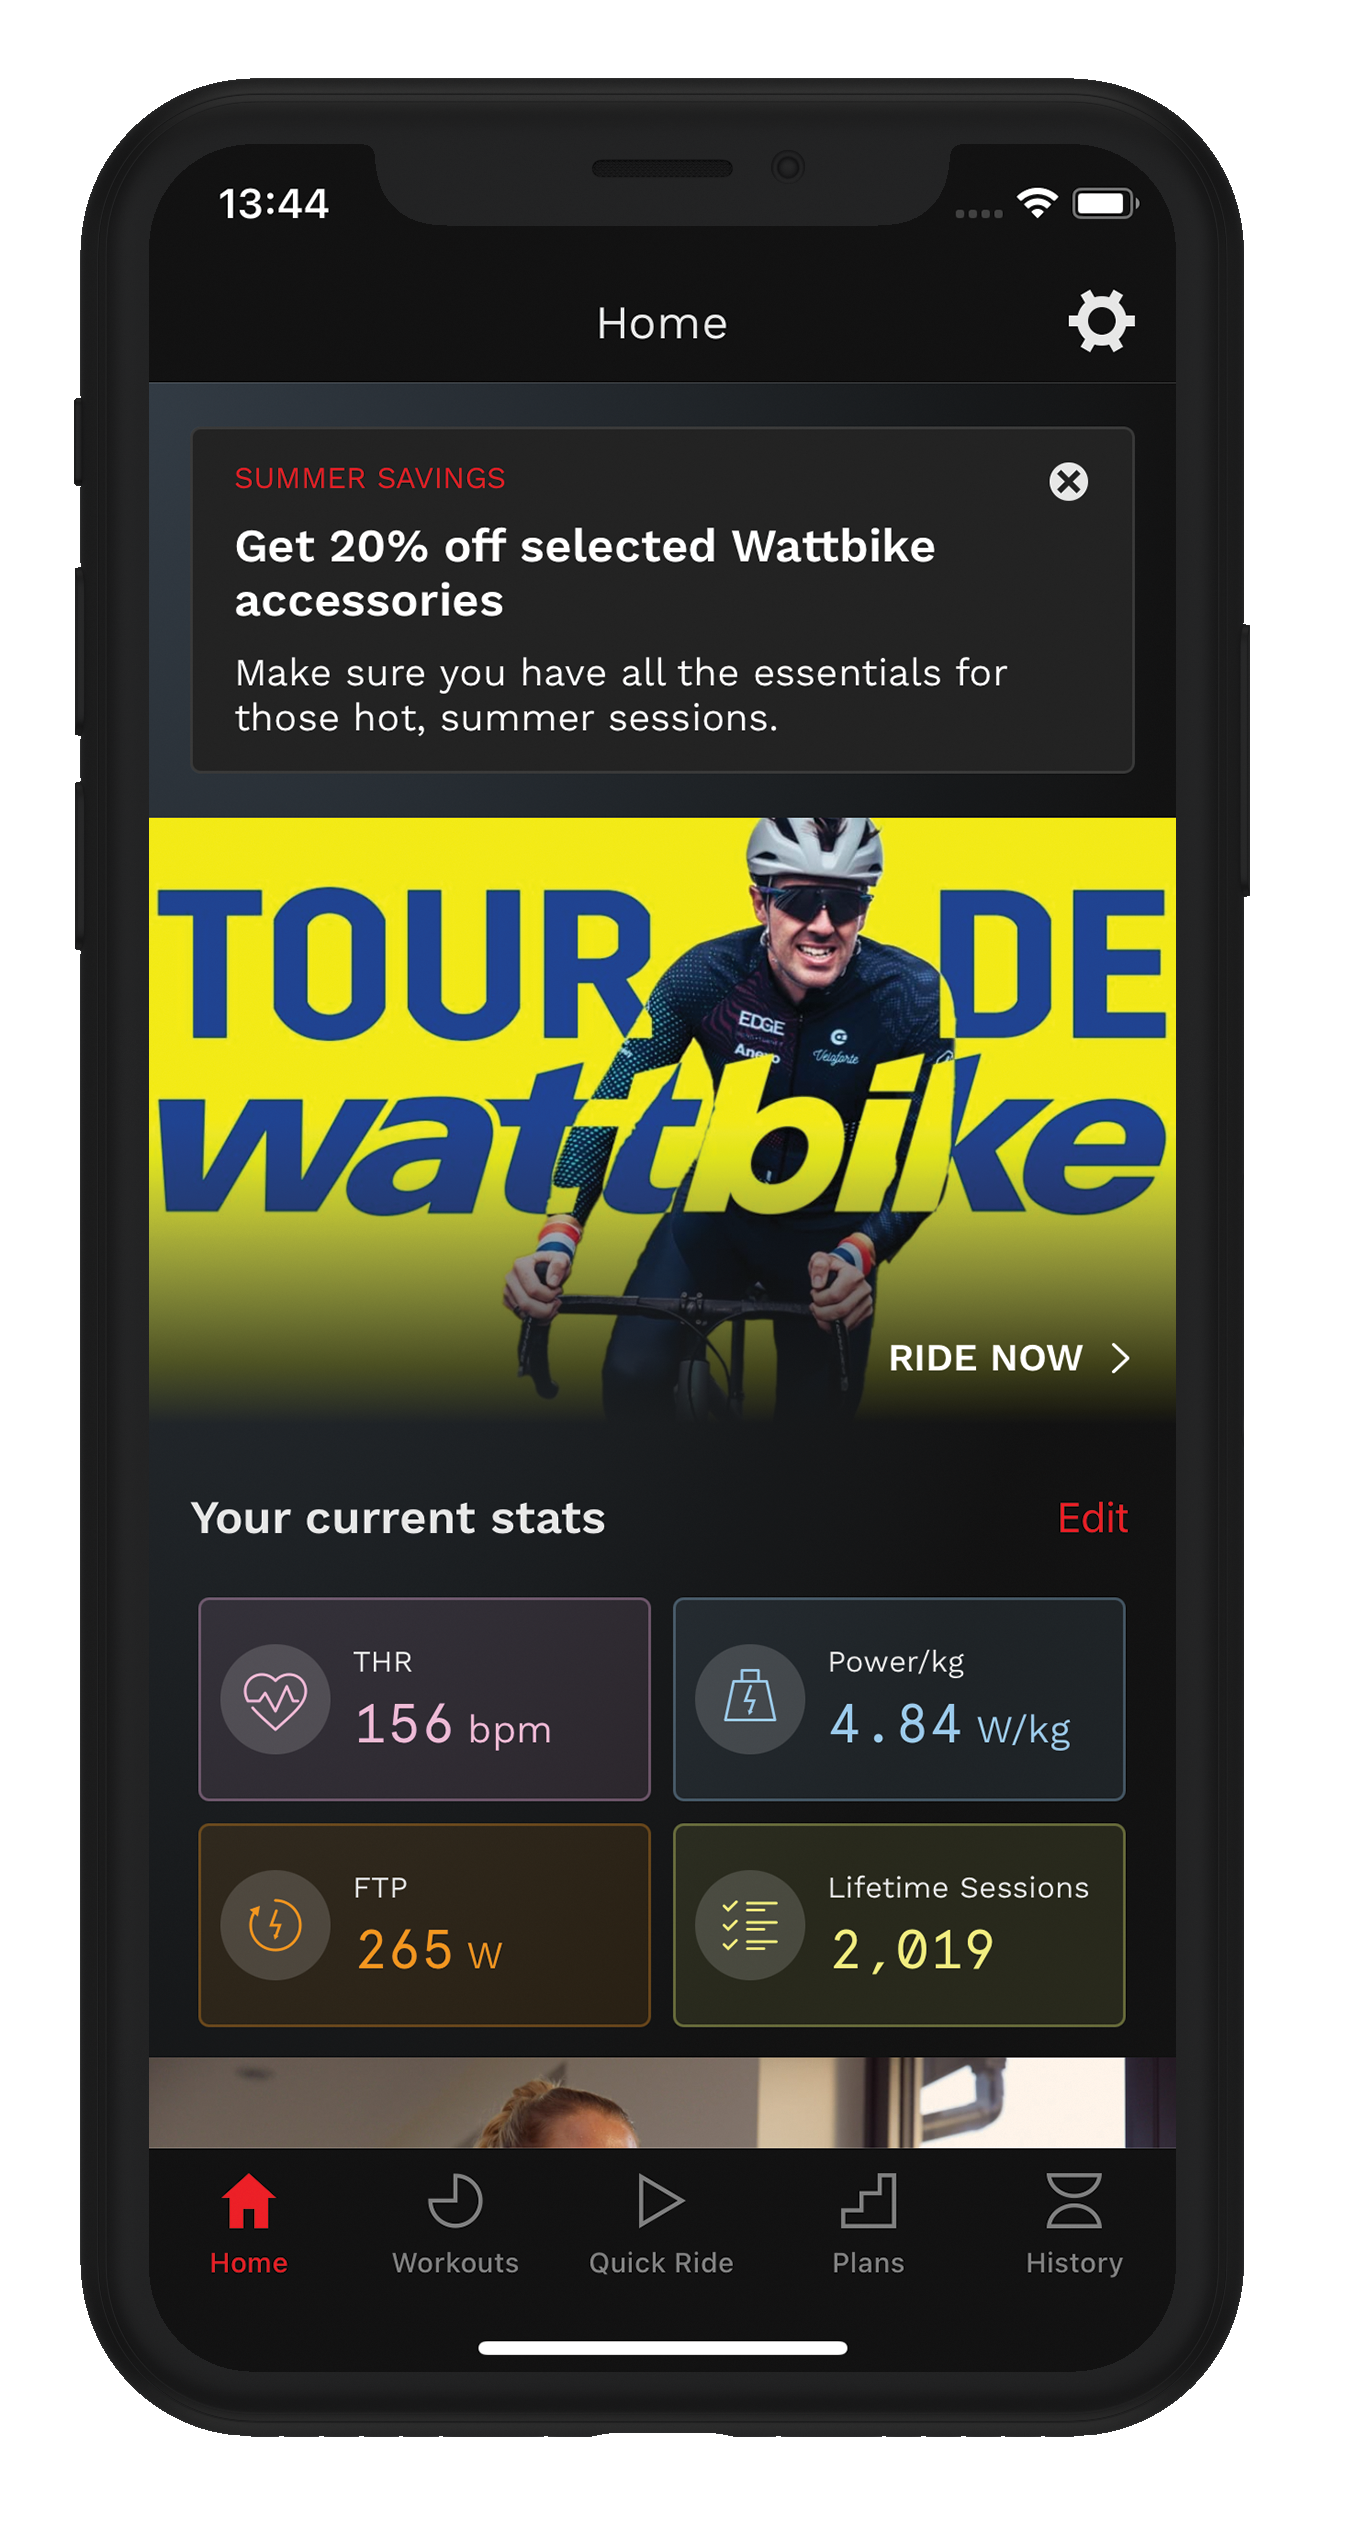
- Click on the Settings icon, top right of screen.
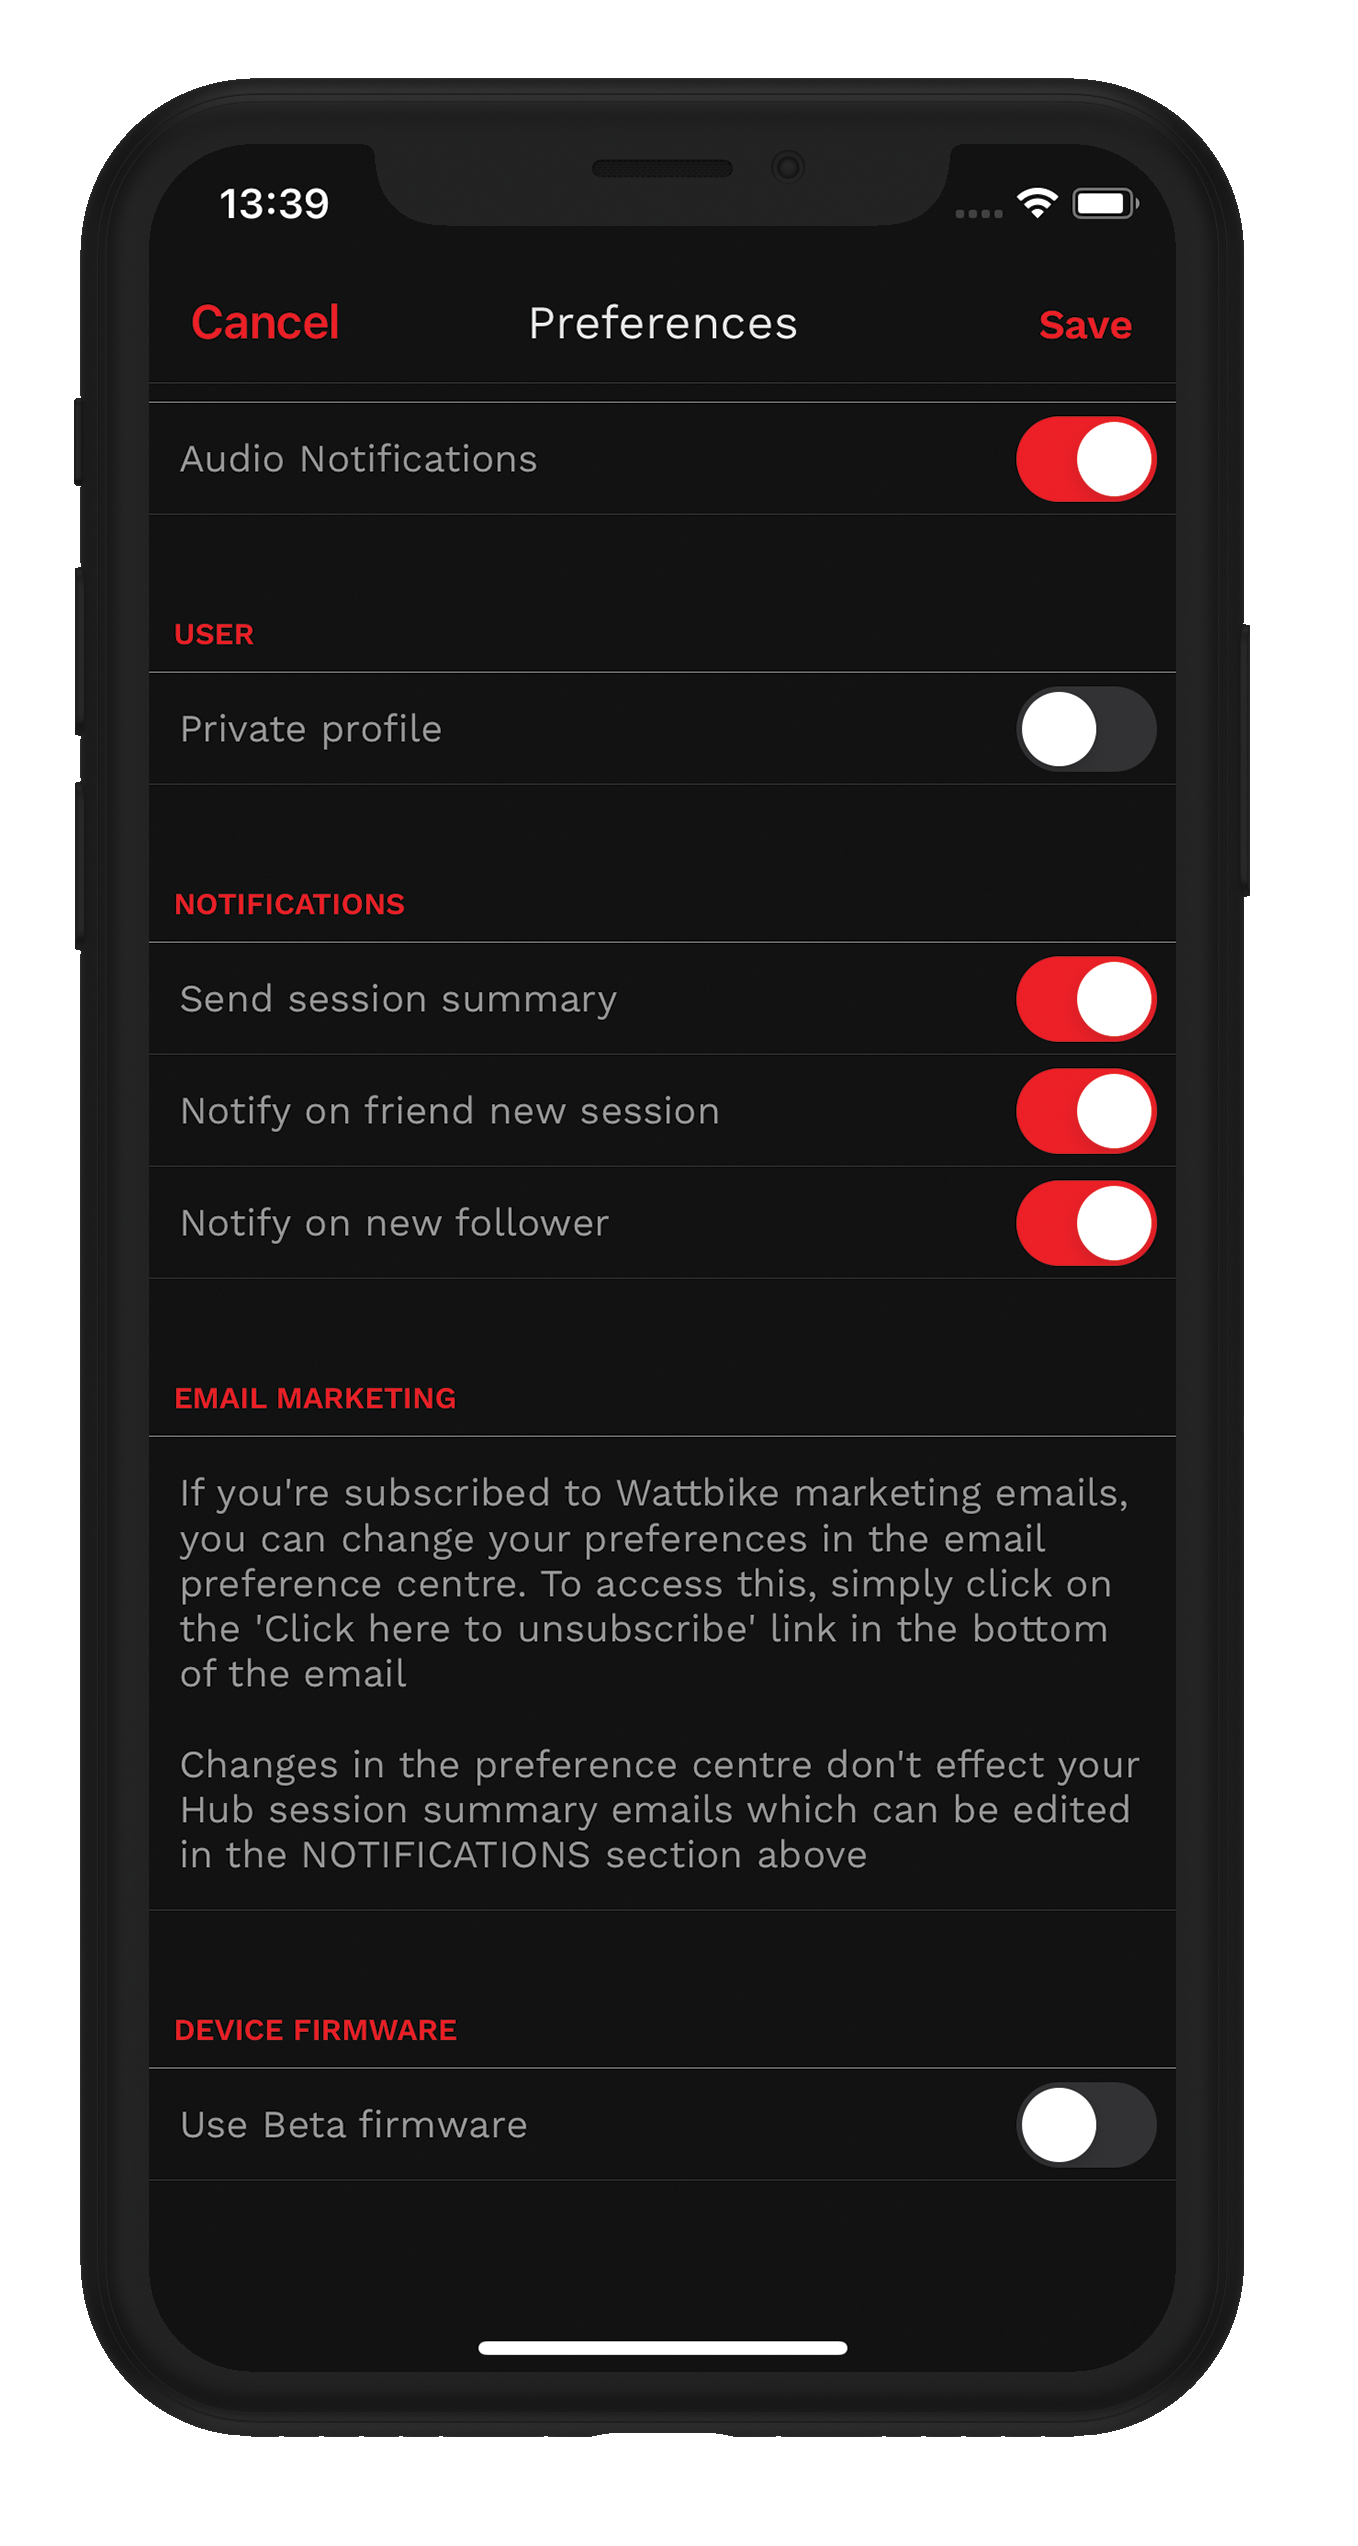
- Click ‘Preferences’

- Check the ‘Use Beta Firmware’ option in the ‘Device Firmware’ section, then tap 'Save’ (on iOS) / the tick icon (on Android) to save the preference
- Turn on your Wattbike
- Go back to the home screen and tap the 'Quick Ride'
- Tap ‘Wattbike’ in the top right, then select your Wattbike. Press 'play' on the ride.

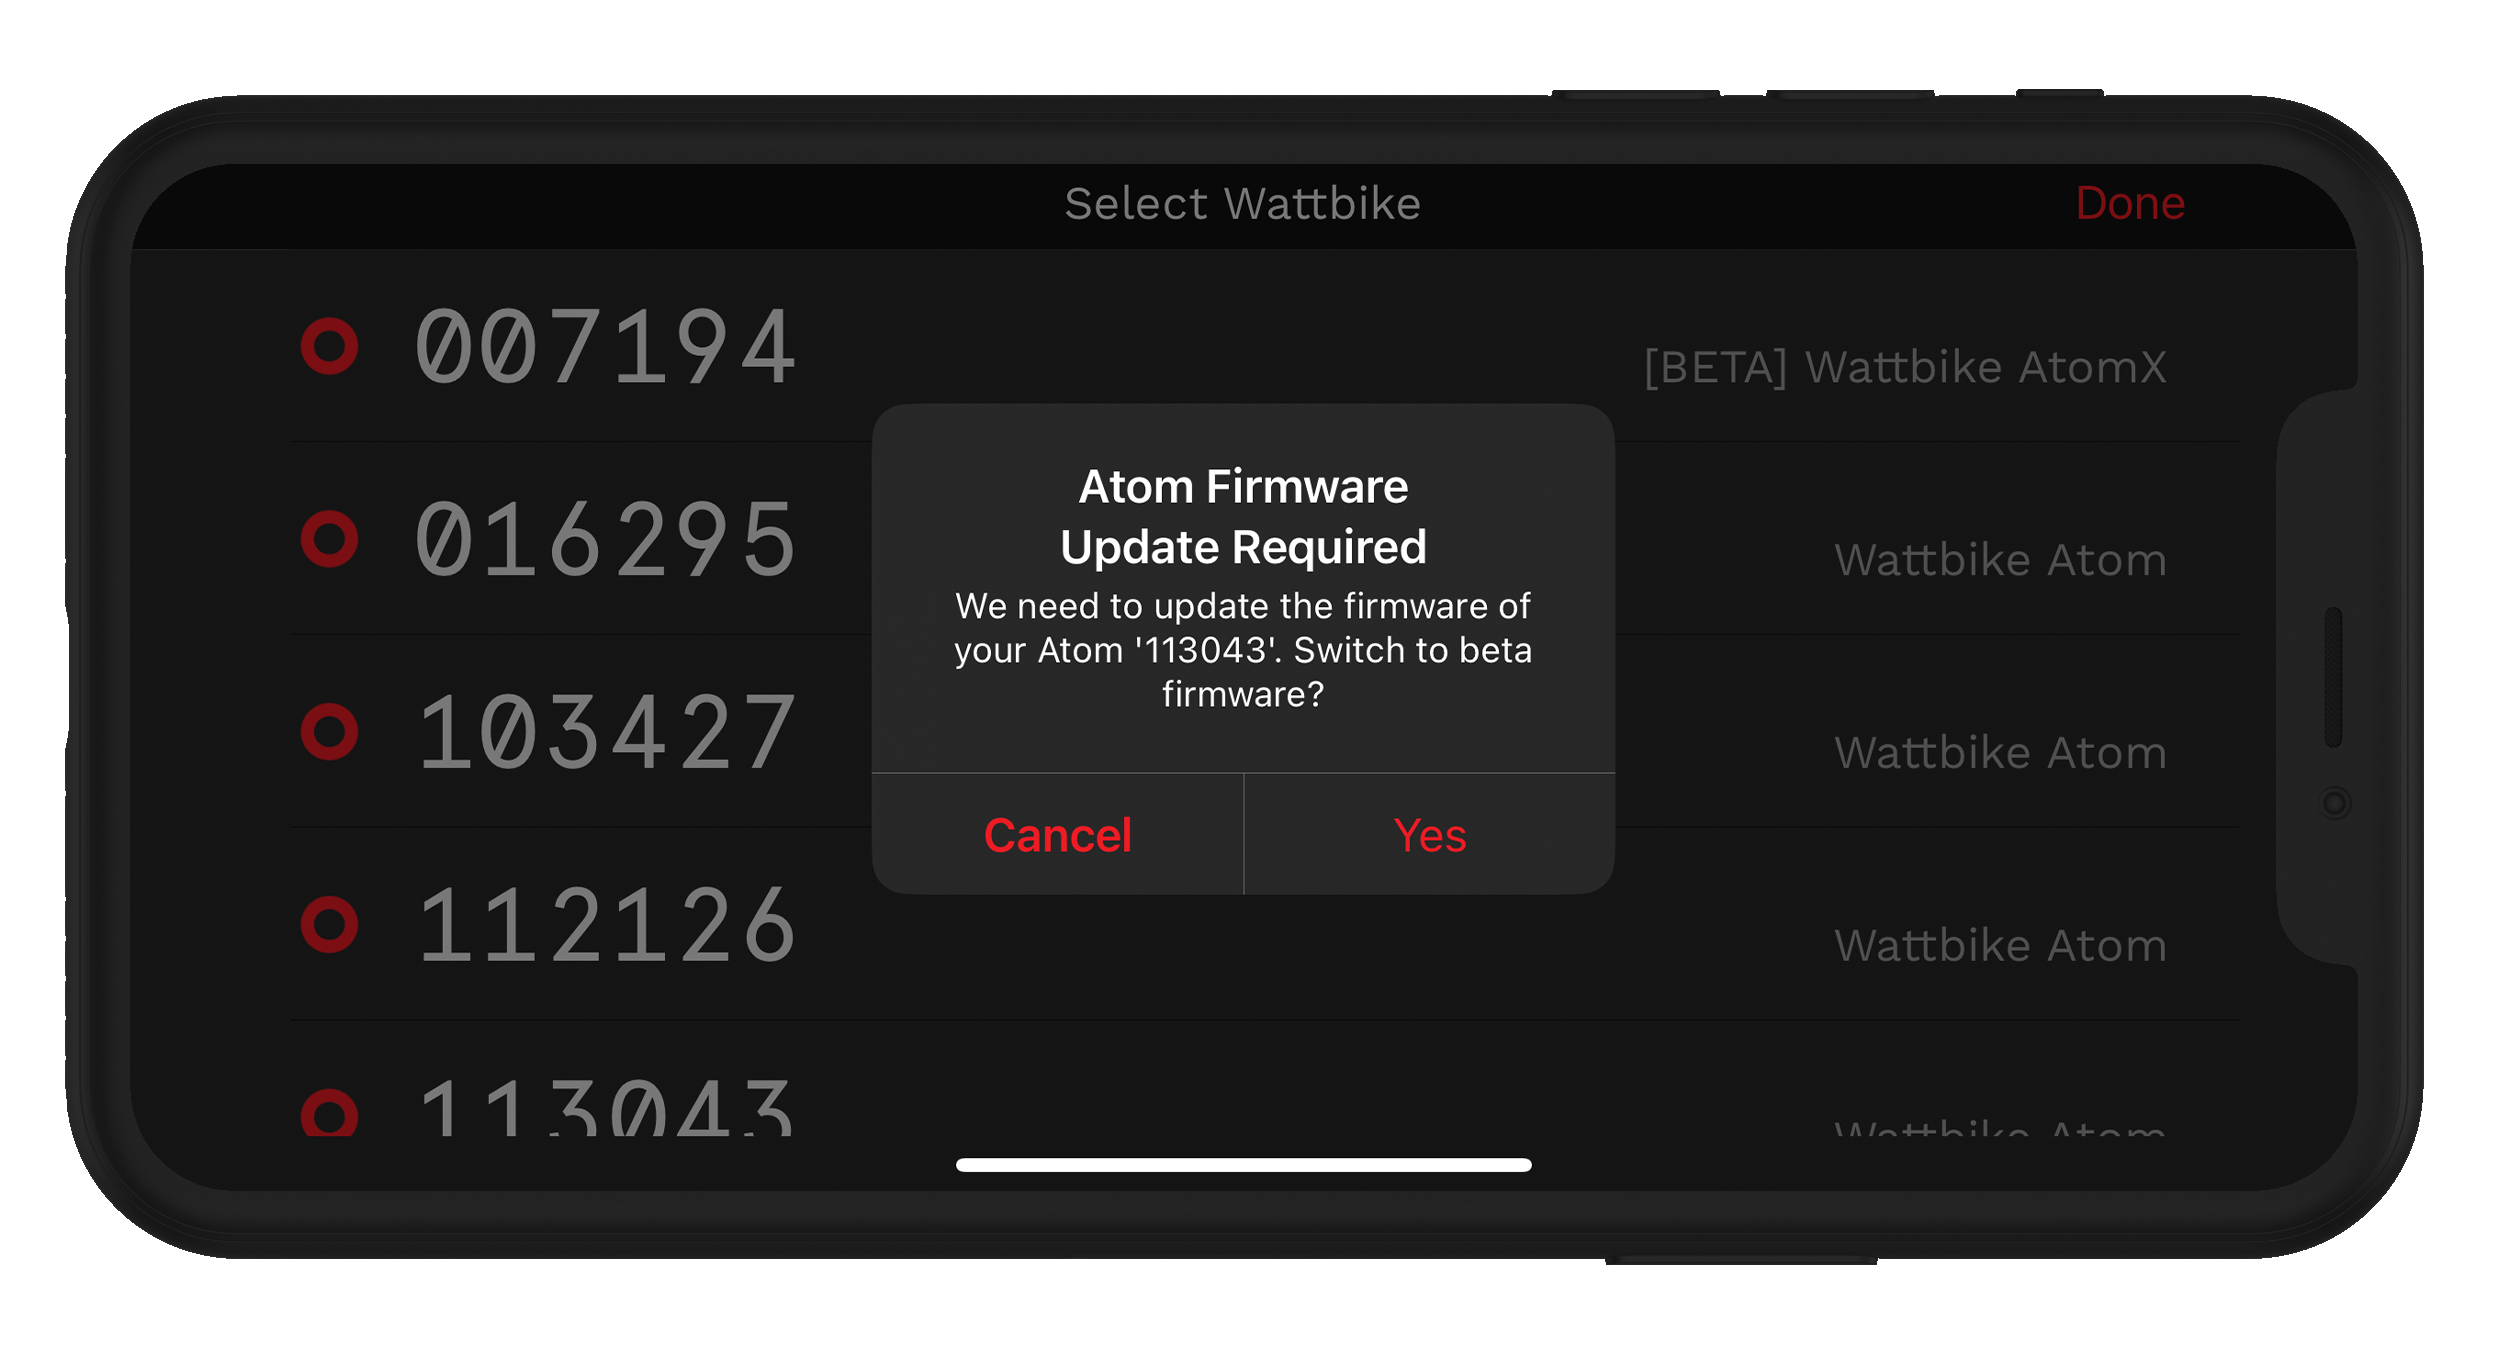
- You will be prompted to update to the Beta firmware – tap ‘Yes’
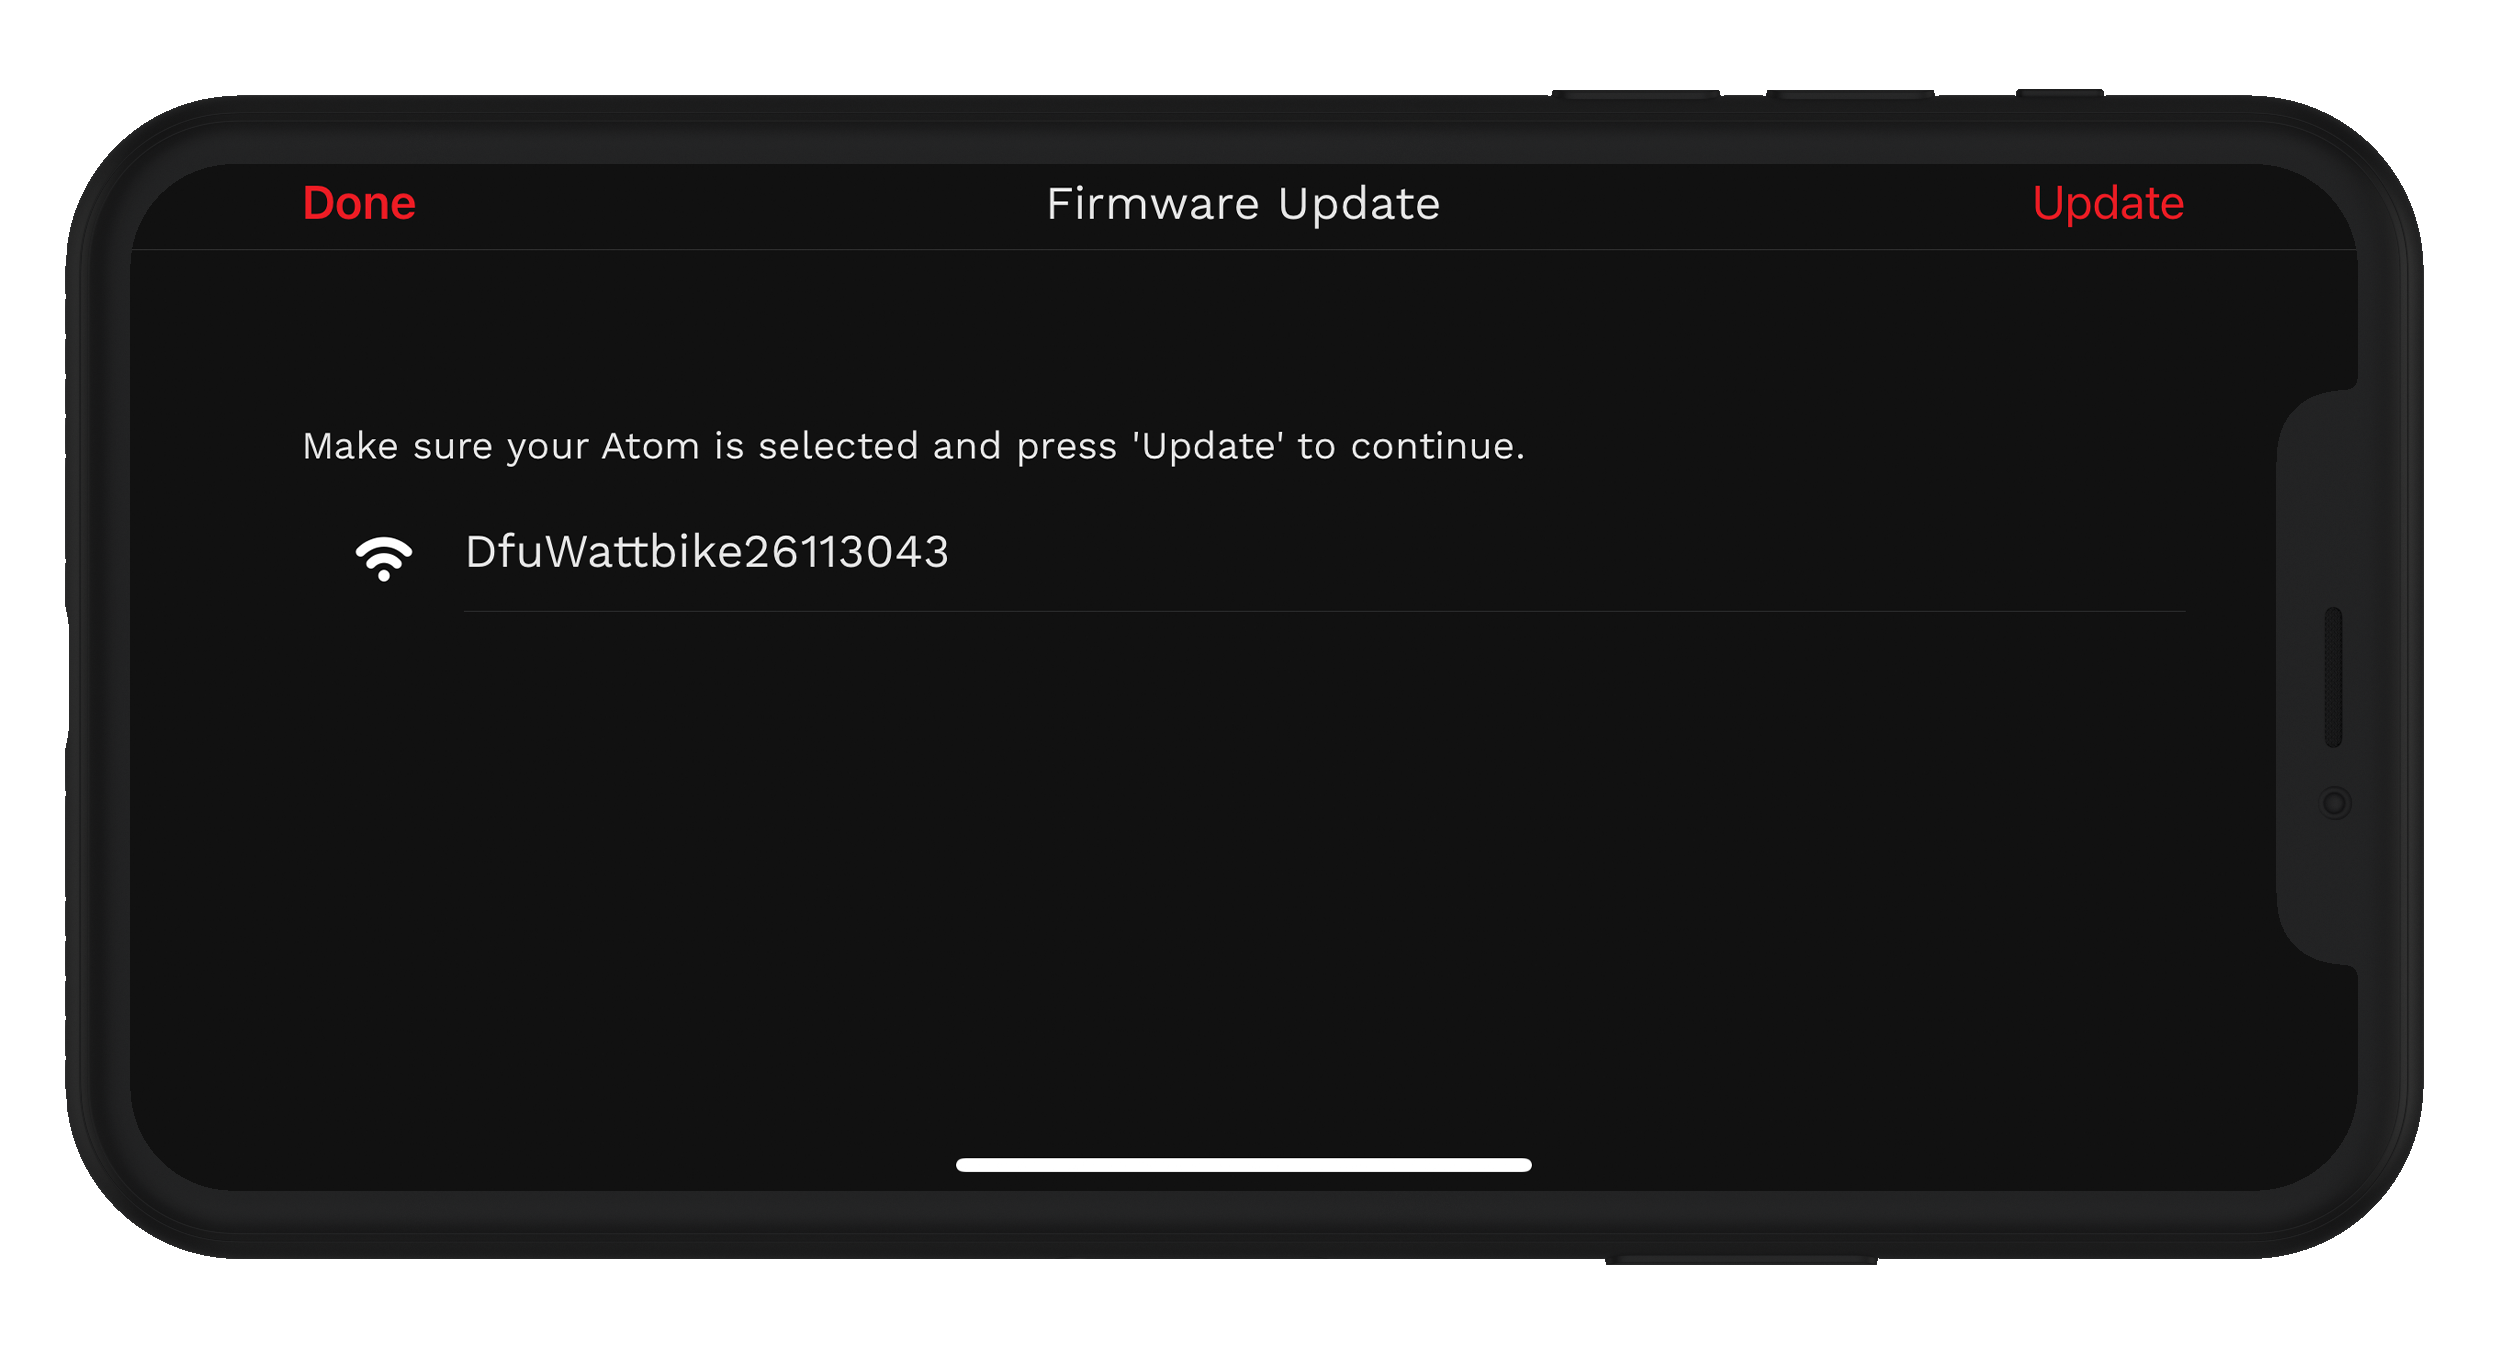
- On the next screen, your bike serial number should show, preceded by ‘Dfu’ - eg ‘DfuWattbike26113043’. Tap on the bike to select it, then tap the ‘Update’ button in the top right corner
- The firmware update will take place (takes <1 minute)

- When the firmware update completes you will be shown a prompt – tap OK
- Then close the app, turn off your Wattbike. Turn the Wattbike back on. The Beta firmware is now installed.
How To Check If the Firmware Is Installed
- Turn on your Wattbike and open the Wattbike Hub app
- Tap the Settings icon
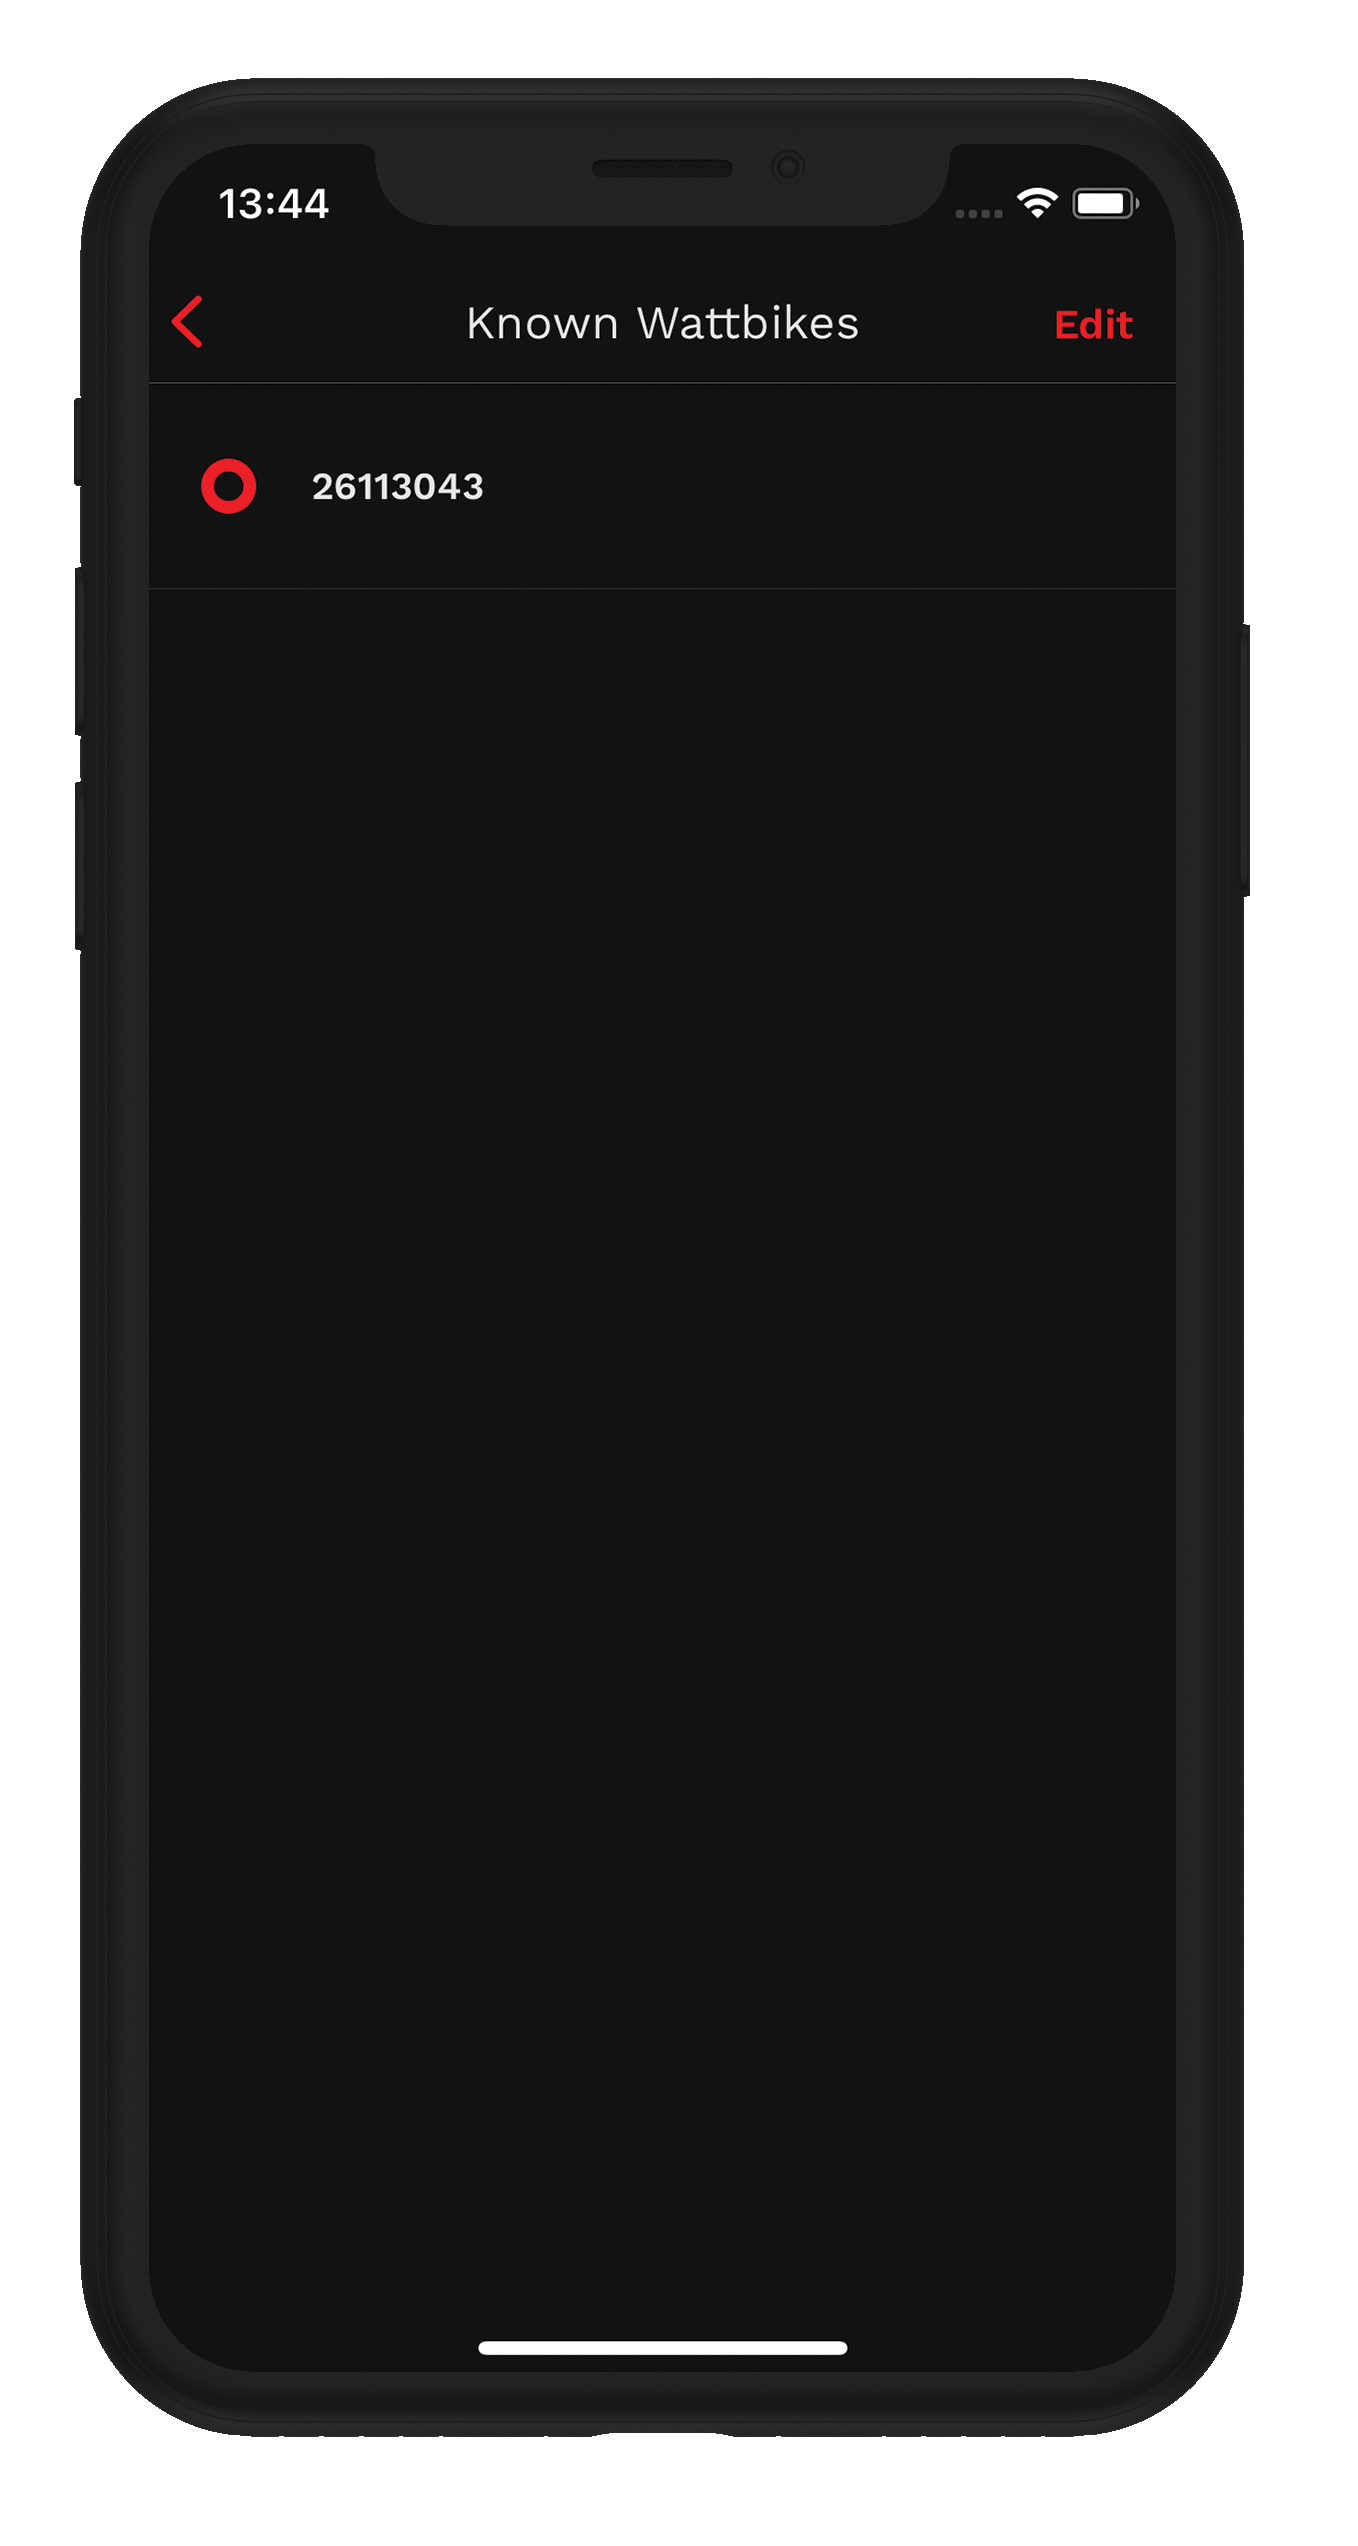
- Tap ‘Known Wattbikes’
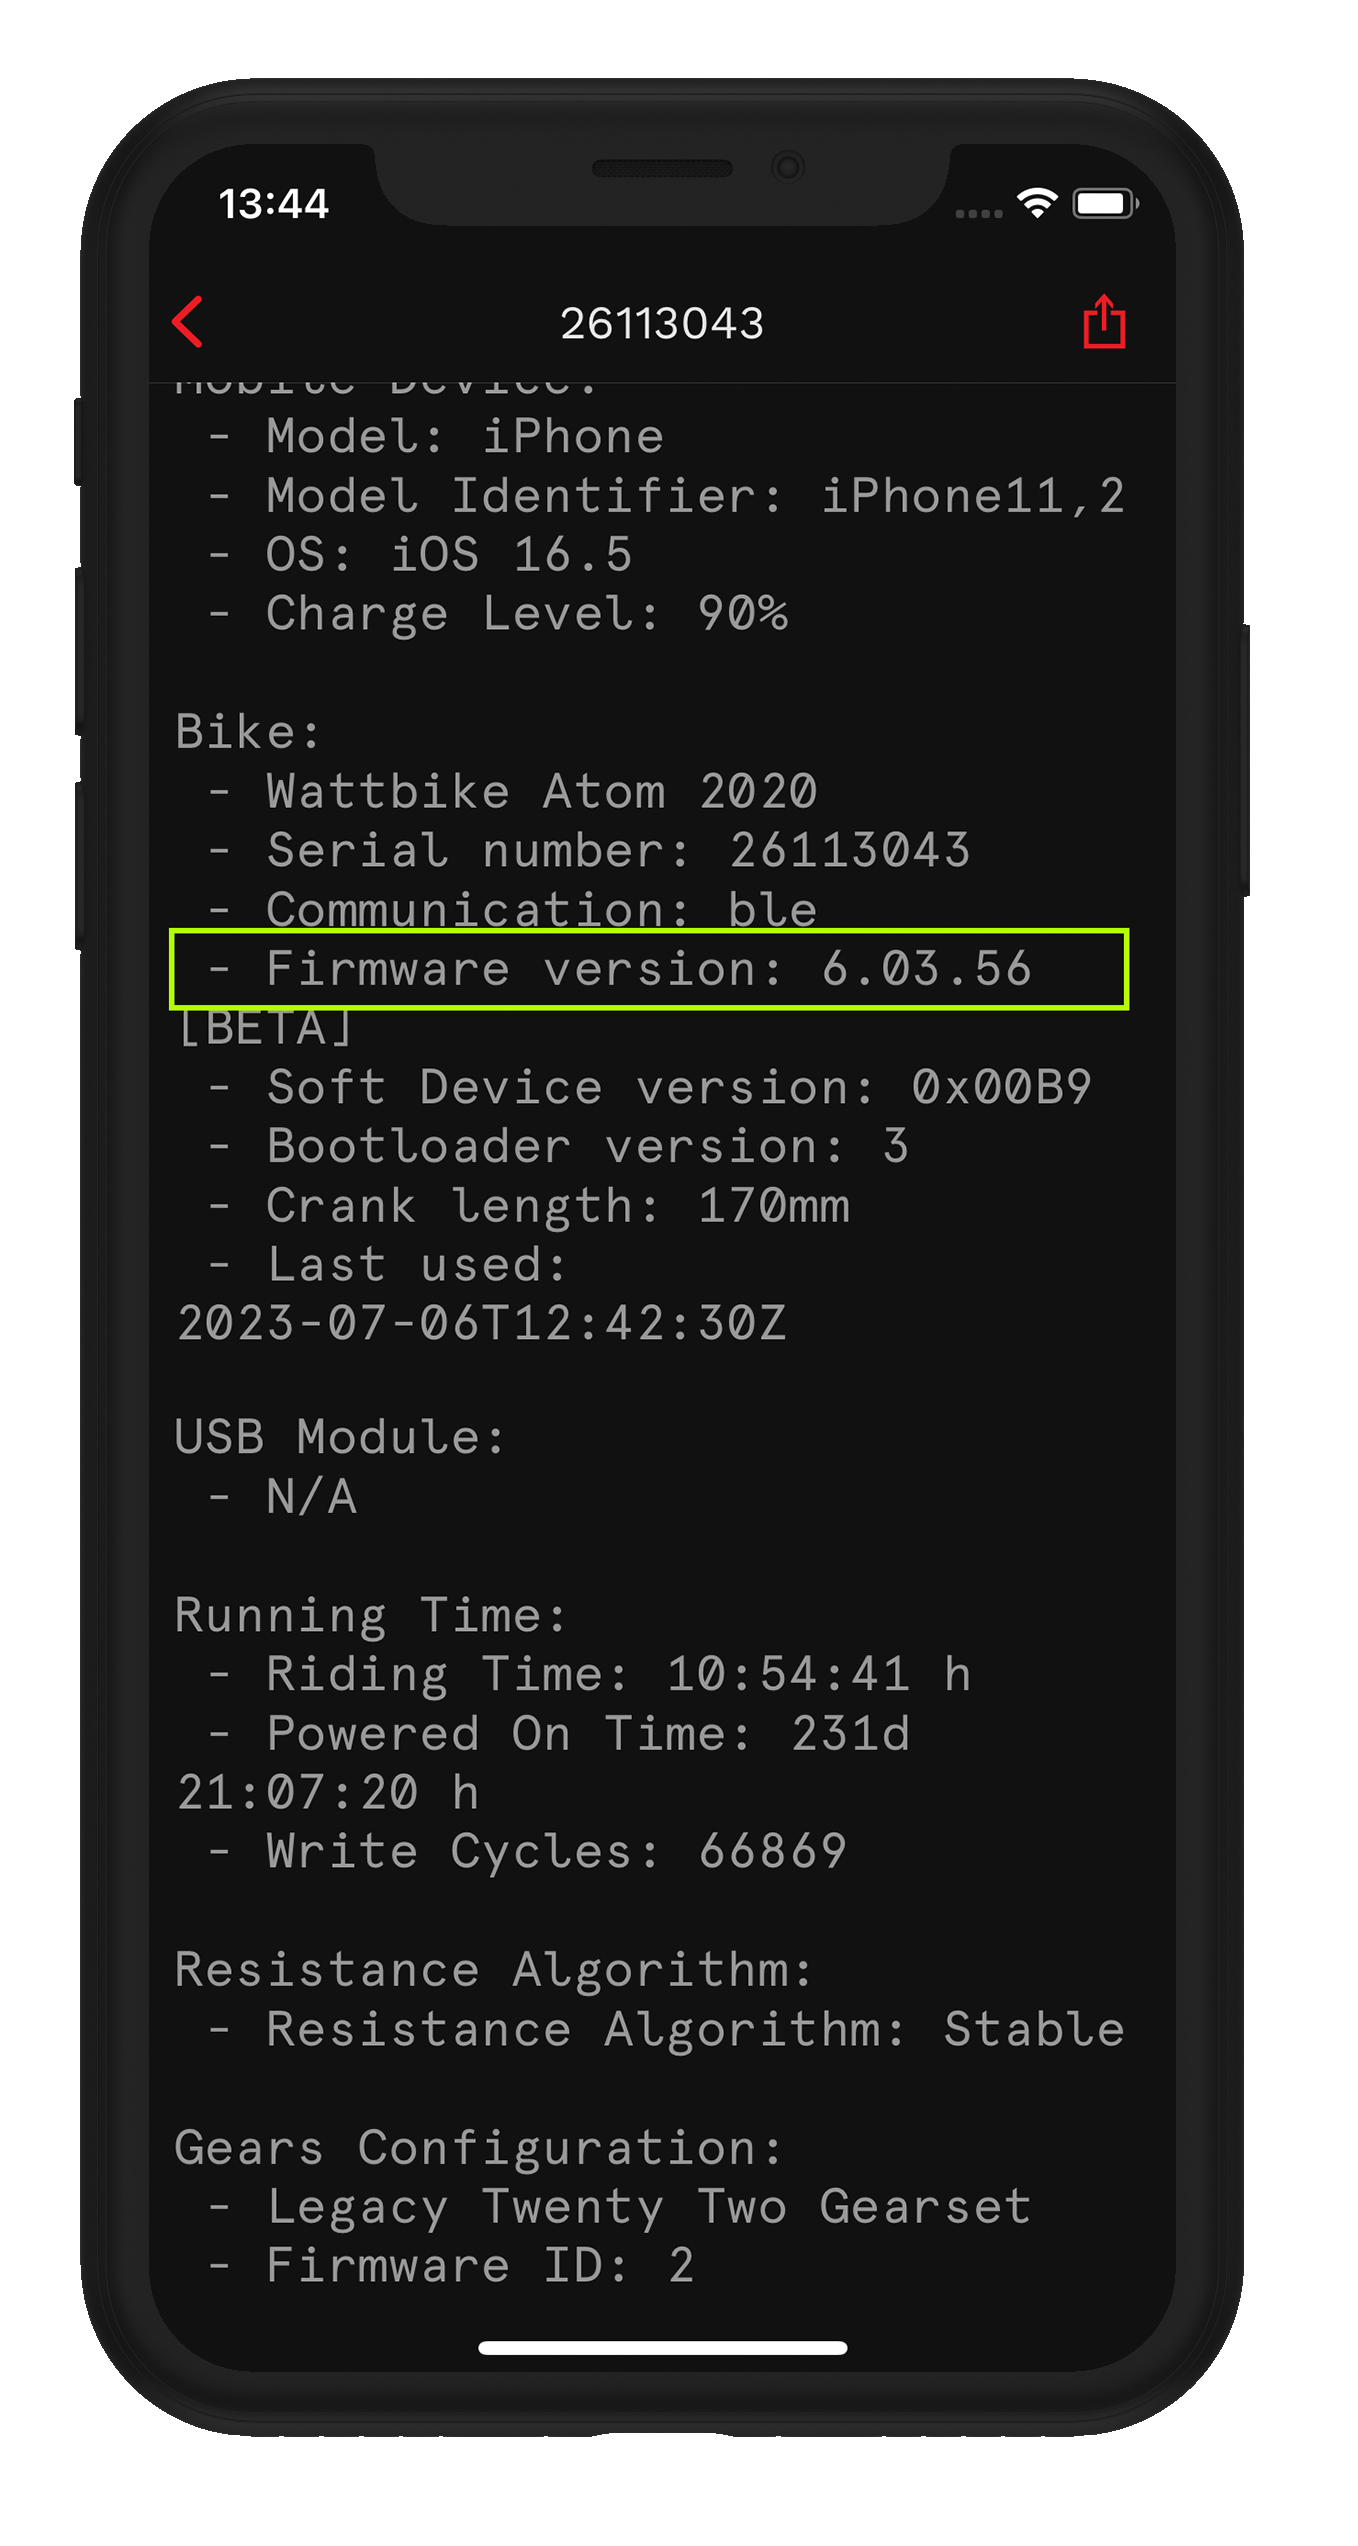
- Tap your Atom serial number to open the Diagnostics screen. Scroll down to the ‘Bike’ section. ‘Firmware Version’ should say ‘x.xx.xx [BETA]’
- After upgrading to the beta firmware, you may need to set zero states on your Wattbike. This article will help you set Zero States on your Wattbike.